
A sparkling clean kitchen is always more inviting, and nothing highlights a messy stovetop more than dirty gas burners and grates. Whether it’s burnt-on spills, grease, or food residue, gas stove burners can accumulate grime quickly. Regular cleaning is not just about appearances; it’s also crucial for safety, efficiency, and maintaining the lifespan of your stove.
If you’ve ever wondered how to clean gas stove burners and grates effectively without damaging them, you’re in the right place. In this guide, we’ll break down the process step by step, share tips from professional cleaners, and provide solutions for tough, stubborn stains.
Why Cleaning Gas Stove Burners and Grates is Important?
Gas burners and grates are constantly exposed to high heat, grease, and food particles. Over time, residue builds up, which can cause uneven heating, unpleasant smells, or even flare-ups when cooking.
Clean burners not only improve performance but also prevent potential safety hazards, such as clogged burner holes or gas leaks caused by accumulated grime. Moreover, maintaining clean grates and burners keeps your kitchen hygienic and extends the lifespan of your appliance.
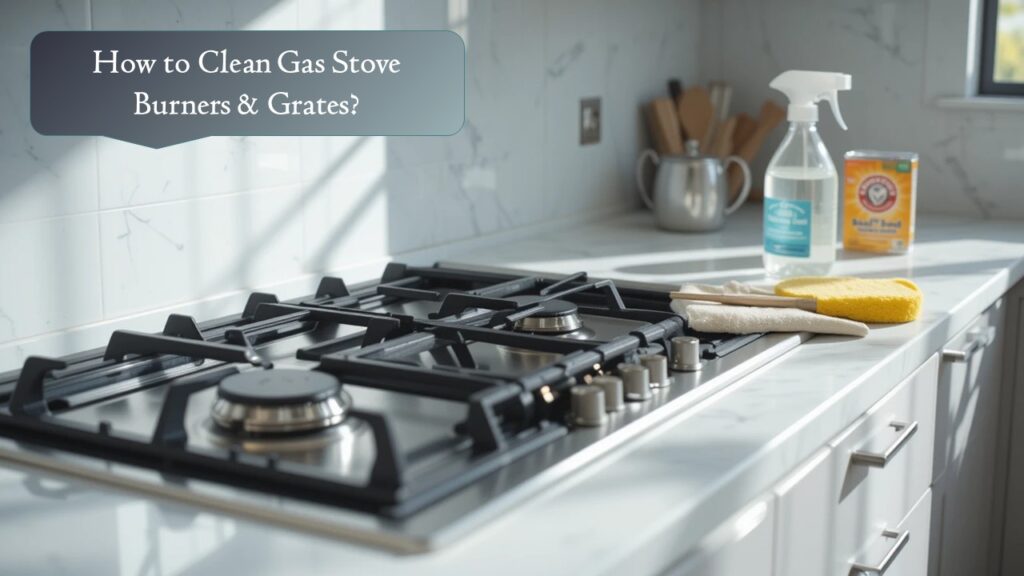
Supplies You’ll Need:
Before starting, it’s important to gather the right cleaning supplies. Here’s a simple checklist:
- Dish soap
- Baking soda
- White vinegar
- Soft scrubbing brush or sponge
- Toothbrush (for hard-to-reach areas)
- Paper towels or microfiber cloths
- Warm water
- Plastic bag (optional for soaking)
Having all supplies ready ensures the process is smoother and more efficient.
Step 1: Turn Off and Cool Down the Stove
Safety always comes first. Ensure all burners are turned off and completely cool before attempting any cleaning. Removing the grates and burner caps is easier and safer when the stove is cold, preventing burns or accidents.
Step 2: Remove Grates and Burner Caps
Most gas stoves have grates and burner caps that are easily removable. Carefully lift them off and place them in your sink or a large basin filled with warm, soapy water. This soaking process helps loosen grease and burnt-on food, making scrubbing easier later.
Step 3: Clean Burner Heads and Ports
Burner heads and ports are the heart of your stove, so cleaning them carefully is essential. Use a toothbrush or a soft brush to scrub around the holes, removing food particles or residue. Avoid using anything too abrasive, as it may damage the burner material. For stubborn clogs, a toothpick or pin can help clear blocked ports, but be gentle to avoid bending the metal.
Step 4: Soak and Scrub Grates and Caps
While the burners soak, focus on the grates and caps. For heavy grease, add a cup of baking soda and a splash of vinegar to the water for a natural, effective cleaning solution.
Allow the grates and caps to soak for 15-30 minutes before scrubbing them with a sponge or brush. This method effectively loosens grime without harsh chemicals. For extra-stubborn stains, make a paste with baking soda and water, apply it to the spots, and let it sit for 15-20 minutes before scrubbing.
Step 5: Rinse and Dry Thoroughly
After scrubbing, rinse all components under warm running water to remove soap and residue. Dry them completely with a microfiber cloth or paper towels before placing them back on the stove. Moisture left on burners or grates can affect ignition or cause rust over time, so thorough drying is crucial.
Step 6: Clean the Stove Surface
While the burners and grates are soaking, don’t forget to clean the stovetop surface. Use a mild dish soap solution or a specialized stovetop cleaner to wipe away spills, stains, and grease. A microfiber cloth works best to avoid scratching the surface, whether it’s stainless steel, enamel, or glass. For sticky or burnt-on spills, a paste of baking soda and water can gently lift the residue.
Step 7: Reassemble Your Stove
Once everything is clean and dry, carefully place the burner caps and grates back in their original positions. Ensure the burner heads align correctly, as misalignment can cause uneven flames or ignition issues. Test the burners by lighting them to make sure everything works properly.
Tips for Keeping Burners and Grates Clean:
- Wipe Spills Immediately: Cleaning up spills as they happen prevents them from baking onto the burners and grates.
- Regular Deep Cleaning: Even with daily maintenance, deep cleaning every 1-2 weeks keeps grime from building up.
- Avoid Harsh Chemicals: Strong chemicals can damage the stove’s finish and may be harmful if they come into contact with food.
- Use Liners or Foil: Stove burner liners or aluminum foil can catch spills and make cleanup easier, but ensure they don’t block ventilation.
- Check for Clogs: Periodically inspect burner holes for blockages and clean them gently to maintain efficient flames.
Common Mistakes to Avoid:
- Using metal scouring pads on enamel or stainless steel, which can scratch surfaces.
- Leaving burner parts wet when reassembling.
- Pouring excessive water on the stove surface while it’s still hot.
- Using abrasive cleaners that can damage finishes.
Eco-Friendly Cleaning Options:
For those who prefer eco-friendly cleaning, a mixture of vinegar, baking soda, and warm water works wonders for degreasing and disinfecting. Lemon juice is another natural option that cuts through grease while leaving a pleasant scent. These alternatives reduce chemical exposure and are safe for households with children or pets.
Conclusion:
Cleaning gas stove burners and grates doesn’t have to be a daunting task. With the right tools, methods, and a bit of patience, your stove can look and function like new. Regular maintenance improves efficiency, prevents safety hazards, and enhances the overall hygiene of your kitchen.
By following the steps outlined above, removing components, soaking, scrubbing, rinsing, and reassembling, you can keep your stove in top condition while enjoying the benefits of a clean, safe cooking environment. Whether you’re tackling minor spills or stubborn grease, this comprehensive guide ensures your gas stove remains a reliable centerpiece in your kitchen for years to come.