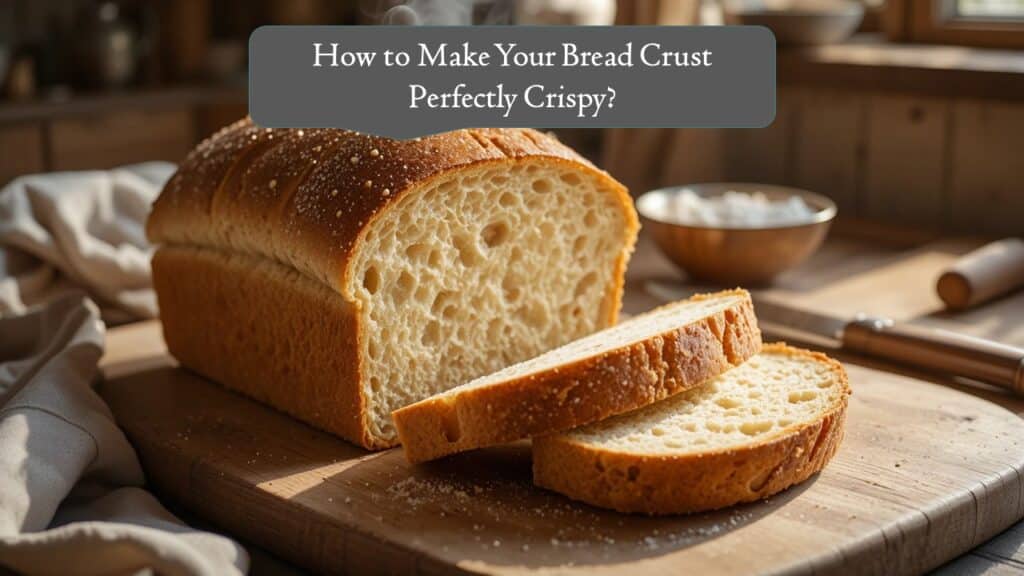
There’s nothing quite like the satisfying crunch of a perfectly baked bread crust — that crisp, golden exterior that gives way to a soft, chewy center. Whether you’re baking a rustic sourdough or a simple white loaf, achieving that bakery-quality crust can be tricky at home.
Home ovens often lack the professional steam and heat control that commercial bakers rely on. But with a few smart techniques and a bit of understanding, you can easily make your homemade bread crust perfectly crispy — every single time.
In this detailed guide, we’ll break down the science of crust formation, common mistakes, and the best baking tips to get that irresistible crunch.
Why a Crispy Crust Matters?
A crispy crust does more than just add texture — it’s the soul of a great loaf. It:
- Seals in moisture, keeping the inside tender.
- Enhances flavor through caramelization and the Maillard reaction.
- Adds visual appeal with a beautiful golden-brown color.
A perfect crust is a balance between heat, steam, and timing — all working together to create that delightful snap with every bite.
-
The Science Behind a Crispy Crust
When bread bakes, moisture from the dough turns into steam. The outer layer of the dough dries out, hardens, and caramelizes — forming the crust.
For a crispier crust, you need:
- High oven temperature for good caramelization.
- Proper steam at the beginning of baking to keep the surface flexible while the bread expands.
- Dry heat at the end to remove surface moisture and harden the crust.
Mastering this process ensures your crust is thin, crisp, and evenly browned.
-
Start with the Right Dough
Not all doughs produce the same crust texture. The type of bread you’re making greatly affects the outcome.
Best Doughs for a Crispy Crust:
- Artisan loaves (sourdough, baguette, ciabatta)
- French and Italian breads
- No-knead breads with high hydration (wetter doughs = crispier crusts)
Why:
High-hydration doughs (with more water) generate more steam inside the oven, creating better blistering and crunch.
Tip: Aim for a dough hydration level of 70–80% for crusty loaves.
-
Use the Right Flour
Flour type affects the structure and browning of your bread.
- Bread flour (high in protein) helps build a stronger gluten network, trapping steam for a better rise and texture.
- Whole wheat flour adds flavor and color but can produce a slightly denser crust.
For the crispiest result, mix bread flour with a bit of all-purpose flour — you’ll get a balanced structure and excellent browning.
-
The Importance of Steam
Steam is the secret weapon for a perfect crust. During the first 10–15 minutes of baking, steam keeps the outer dough surface soft and pliable, allowing it to expand. Once the steam dissipates, the surface hardens and becomes beautifully crisp.
Ways to Add Steam in a Home Oven:
- Use a Dutch Oven:
This is the easiest method. The sealed environment traps the dough’s natural moisture, creating perfect steam. Remove the lid halfway through baking to let the crust crisp up. - Add a Tray of Water:
Place a metal baking tray at the bottom of the oven and pour in a cup of hot water just as you put the bread in. - Spritz with Water:
Lightly mist the dough with water using a spray bottle right before and during the first few minutes of baking. - Use Ice Cubes:
Toss 3–4 ice cubes onto a preheated tray or directly into the oven floor to generate steam quickly.
-
Bake at the Right Temperature
A crisp crust requires high heat. Low temperatures lead to soft, pale crusts that lack that crunch.
Ideal baking temperature:
- 450°F (230°C) for most artisan-style loaves
- 400°F (200°C) for softer breads
Always preheat your oven for at least 20–30 minutes to ensure even heat distribution before baking.
-
Don’t Overproof Your Dough
Overproofed dough loses gas and elasticity, resulting in bread that spreads instead of rising. This affects crust texture and color.
To check if your dough is ready:
- Gently press it with your fingertip.
- If it springs back slowly, it’s perfectly proofed.
- If it deflates or doesn’t spring back, it’s overproofed.
Correct proofing ensures a great rise, allowing the crust to bake evenly and crisp up beautifully.
-
Extend the Bake Time Slightly
If your bread looks done but the crust feels too soft, it might need a few more minutes in the oven.
Try this method:
- Bake until golden brown.
- Then turn off the oven, crack the door open slightly, and leave the loaf inside for 5–10 extra minutes.
This helps excess moisture evaporate, giving you a firm, crisp crust.
-
Cool the Bread Properly
Your bread might come out of the oven crisp, but it can quickly turn soft if not cooled correctly.
Never cool bread on a solid surface. The steam trapped underneath will soften the bottom crust.
Instead:
- Cool your bread on a wire rack to allow airflow from all sides.
- Wait at least 1 hour before slicing — cutting too early releases steam and softens the crust.
-
Re-Crisp Softened Bread
If your crust loses its crunch after a day or two, you can revive it easily.
- Preheat your oven to 375°F (190°C).
- Lightly spritz the loaf with water.
- Bake for 5–7 minutes until the crust becomes crisp again.
This trick also works for leftover baguettes or rolls that have gone soft overnight.
-
Optional: Add a Finishing Touch
For extra shine and color, try these finishing touches before baking:
- Egg wash (egg + water): Gives a glossy, golden crust.
- Milk wash: Produces a softer, darker crust.
- Flour dusting: Creates a rustic look and a slightly thicker crust.
Choose your finish based on the bread type — egg wash for sandwich loaves, flour dusting for artisan styles.
Common Mistakes to Avoid
- Using cold dough straight from the fridge — it won’t bake evenly.
- Opening the oven door too often — this releases crucial steam.
- Baking at too low a temperature — it prevents proper browning.
- Covering hot bread right after baking — it traps moisture and ruins the crust.
Conclusion:
Achieving the perfect crispy crust is part science, part art — and completely worth the effort. By mastering steam, heat, and timing, you can turn your homemade loaves into bakery-quality bread with a beautiful golden crunch every time.
Remember:
- Use high hydration dough.
- Bake at high heat.
- Add steam early and let it dry out late.
Follow these tips, and your bread will not just taste incredible — it’ll sound perfect too, with that delightful crackle as it cools on the rack.


